Carrot Ginger Soup
I know what you are saying to yourself right now. “WTF is she thinking?! CARROTS?!?!” I get it and I agree. I was there. I’m not what you’d call a carrot fan unless they end up nestled beneath a roast lamb where they suck up all the delicious meat juices. I don’t even eat them when I get buffalo wings. They do nothing for me…but then my mom told me about this soup and INSISTED that it was good. Seriously. “Even dad liked it”.
Well that changes things.
So now here I am making my second batch of carrot ginger soup and this time? It’s vegetarian. It’s vegan. It’s paleo. Also? It’s really, really good. It’s comforting, warm, rich, bright flavors and you can change it up a bit to however you are feeling when you make it. Extra ginger? Sure. A dash of cayenne? Do it. Less lemon? It’s your soup!
The recipe is based off this carrot soup with ginger and lemon. The first time, I made it true to the recipe and this blog is based off a tweaked version. Total honesty? I think I preferred the first version due to the bolder lemon flavor but this is still great and can be paired with a salad or some toasted bread for dipping.

carrot ginger soup
1/4 cup olive oil
1 1/2 cups chopped onion
2 tablespoon finely chopped peeled fresh ginger
1 1/2 teaspoons minced garlic
1 1/4 pounds medium carrots, peeled, chopped (about 3 cups)
3 tomatoes, seeded, chopped
1 1/2 teaspoons grated lemon peel (I used just about a full lemon’s peel)
3 cups (or more) vegetable stock or broth
2 tablespoons fresh lemon juice
*Optional: a dash of cayenne

Heat the olive oil over medium in a large, heavy bottom pot. Add the chopped onions and saute for 8-10 minutes, until translucent but don’t let them burn. When chopping the garlic and ginger, make sure it’s relatively finely chopped. When you blend the soup, little pieces may be missed and you may not enjoy chomping down on a big spicy chunk of ginger. Add the ginger and garlic and saute for another 2-3 minutes. Next, add the carrots, tomatoes and lemon peel and saute for one more minute (if you want to add cayenne or other seasoning, do it now!). Add 3 cups of stock and bring to a boil. Reduce to a simmer and partially cover the soup.

Simmer the soup for 20-25 minutes until the carrots are very tender.
Puree the soup in batches or use a hand blender to puree the soup until smooth. If you use a blender, be careful not to fill it too much with the hot liquid and I suggest placing a kitchen towel over the top and holding it on when you start the blender. That will prevent steam from expanding and blowing off the top, thus making a rather large orange disaster in your kitchen. Add the lemon juice and season with salt and pepper.

If the soup is too thick as you are blending, add more stock. I made this batch with 4 cups straight away and I think it is better to add as needed. Also, add more as needed after you reheat it. It did thicken up a bit after refrigeration.
Those of us who don’t treat our bodies like temples may be interested in topping the soup with a dollop of sour cream but I also am a big fan of a sprinkle of dill on top. I also found this soup to go delightfully well with triscuits. So for once, you can feel good about something I am posting here. Enjoy this yummy, healthy, bright orange soup!

skillet rosemary chicken
Technically, I cooked this a few weeks ago but have been delinquent with my recap. I’ve been craving autumnal food a lot lately – the hearty, warm food that usually takes forever to cook. This chicken has the flavor of roast chicken but takes about half the time to cook, partly because it isn’t a full chicken and partly because you brown the chicken before putting it in the oven. The mushrooms and potatoes cook in the juices and soak up all the goodness of the lemony chicken. Pair this with a green veggie and a bottle of wine and you’ll have a great weeknight dinner that has the feel of a Sunday supper.
An extra note: When reading the reviews, I saw several people suggested making some gravy/sauce with the leftover pan goodness after the chicken was done. I did this and it was a good addition. De-glaze the pan with a little bit of white wine. Then add some butter and flour into the sauce to thicken it up and you are good to go.
The chicken takes about an hour with prep and cooking and serves 4. You should definitely prep everything ahead of time because there is not a lot of downtime during the initial cooking.

skillet rosemary chicken
3/4 pound small red-skinned potatoes, halved, or quartered if large
kosher salt
2 sprigs fresh rosemary, plus 1 tablespoon leaves
1 clove garlic, smashed
Pinch of red pepper flakesJuice of
2 lemons (squeezed halves reserved)
2 tablespoons extra-virgin olive oil
4 skin-on, bone-in chicken breasts
10 ounces cremini mushrooms, halved or quartered
Preheat the oven to 450F. Place potatoes in a sauce pan, cover with cold water and salt the water. Simmer the potatoes over medium-high heat for about 8 minutes until they are tender. Drain the potatoes and set aside.
 Take the tablespoon of rosemary leaves, garlic, red pepper and 2 teaspoons of kosher salt and pile them together on a cutting board. Mince everything together into a paste using a large knife. Based on my assessment, I would say don’t kill yourself over making this a total paste. As long as it is finely minced, it will be good for what you need.

Add paste to a large bowl and add the juice of one lemon and the olive oil into the bowl and whisk together. Coat each piece of chicken in the mixture.


Heat a large cast iron skillet or dutch oven over medium-high heat. Once hot, place the chicken skin-side down into the pan and cover. Cook for about 5 minutes, until the skin is brown. Turn the chicken over and add the potatoes and mushrooms. Drizzle with the juice of the remaining lemon. Additional note – you can throw in the rest of the rosemary lemon mixture into the skillet BUT if you decide to make gravy from the pan drippings, it will be on the salty side. If you are sensitive about salt levels, don’t add it. Add the rosemary sprigs and the juiced lemon halves into the skillet as well.
 Transfer to the oven and roast uncovered for 20-25 minutes, until the skin is crispy and the chicken is fully cooked.
 If you want to make the gravy, remove the chicken, mushrooms and potatoes from the pan. Throw away the rosemary sprigs and lemons. Put the pan back on the stove on medium heat and add a splash of wine to de-glaze, scraping up the brown bits on the bottom of the skillet. Add a tablespoon or two of butter and flour and whisk to combine.

pull apart lemon coffee cake
In a word? Lovely. In two words? Time consuming. There is a lot of wait time with the coffee cake due to all of the proofing time for the dough, but if you have a late morning brunch and don’t mind getting up early (or if you make the dough ahead of time), I definitely recommend this recipe. It is at its best when still warm, much easier to “pull apart”. If you’ve ever had monkey bread or one of those Pillsbury Flaky Layer biscuits, the concept is similar. You can pull off layers of the bread as you work your way through it. I don’t recommend serving this to people who don’t like to eat with their hands and don’t want to touch the food everyone else is eating because everyone is just going to need to get in there.
With the basic bread dough, you could definitely change the flavors and instead of lemon sugar, do cinnamon sugar and instead of lemon cream cheese frosting, simple cream cheese frosting. That would give you a coffee cake more reminiscent of cinnamon buns or monkey bread and I’m sure it would be equally as tasty. I personally love the freshness of lemon and it was definitely a large part of the reason I wanted to make this recipe (thanks to Courtney for stumbling across it!). From what I have found, this recipe originates from Flo Braker but I used the blog Clockwork Lemon as my guide. I don’t make a lot of breads but this was surprisingly easy, even without a KitchenAid Stand Mixer.


Sweet Yeast Dough
2 3/4 cups all-purpose flour (You might not use all of this)
1/4 cup granulated sugar
2 1/4 teaspoons (1 envelope) instant yeast
1/2 teaspoon salt
1/3 cup whole milk
2 ounces unsalted butter
1/4 cup (2 fluid ounces) water
1 1/2 teaspoons pure vanilla extract
2 large eggs, at room temperature
Lemon Sugar Filling
1/2 cup granulated sugar
Zest of three lemons
Zest of one orange
2 ounces unsalted butter, melted
 Tangy Cream Cheese Icing
3 ounces cream cheese, softened
1/3 cup powdered sugar
1 tablespoon whole milk
1 1/2 tablespoons fresh lemon juice
To make the dough, start by heating the butter and milk in the microwave just until the butter is melted and set aside to let it cool a bit. While that cools, mix 2 cups of flour, the yeast and sugar in a bowl (of a stand mixer if you have it) and mix together. Based on what I’ve heard about yeast, too much heat kills it so you just want the milk and butter to be warm. Add the water and vanilla to the milk and butter mixture.
 Once it isn’t too hot, pour the milk mixture over the flour/yeast/sugar. I used a few different techniques to mix everything. 1) whisk. just don’t. 2)wooden spoon – everything sticks to it. Don’t do it. 3) electric mixer with only 1 beater attached to mimic a stand mixer – on the lowest speed. This was my best option for mixing everything but wasn’t ideal. I was afraid it was going to be too fast but it worked well and didn’t destroy the dough at all. Next, add the eggs one at a time until they are combined. Add another 6 tablespoons of flour and the salt and mix again until combined.


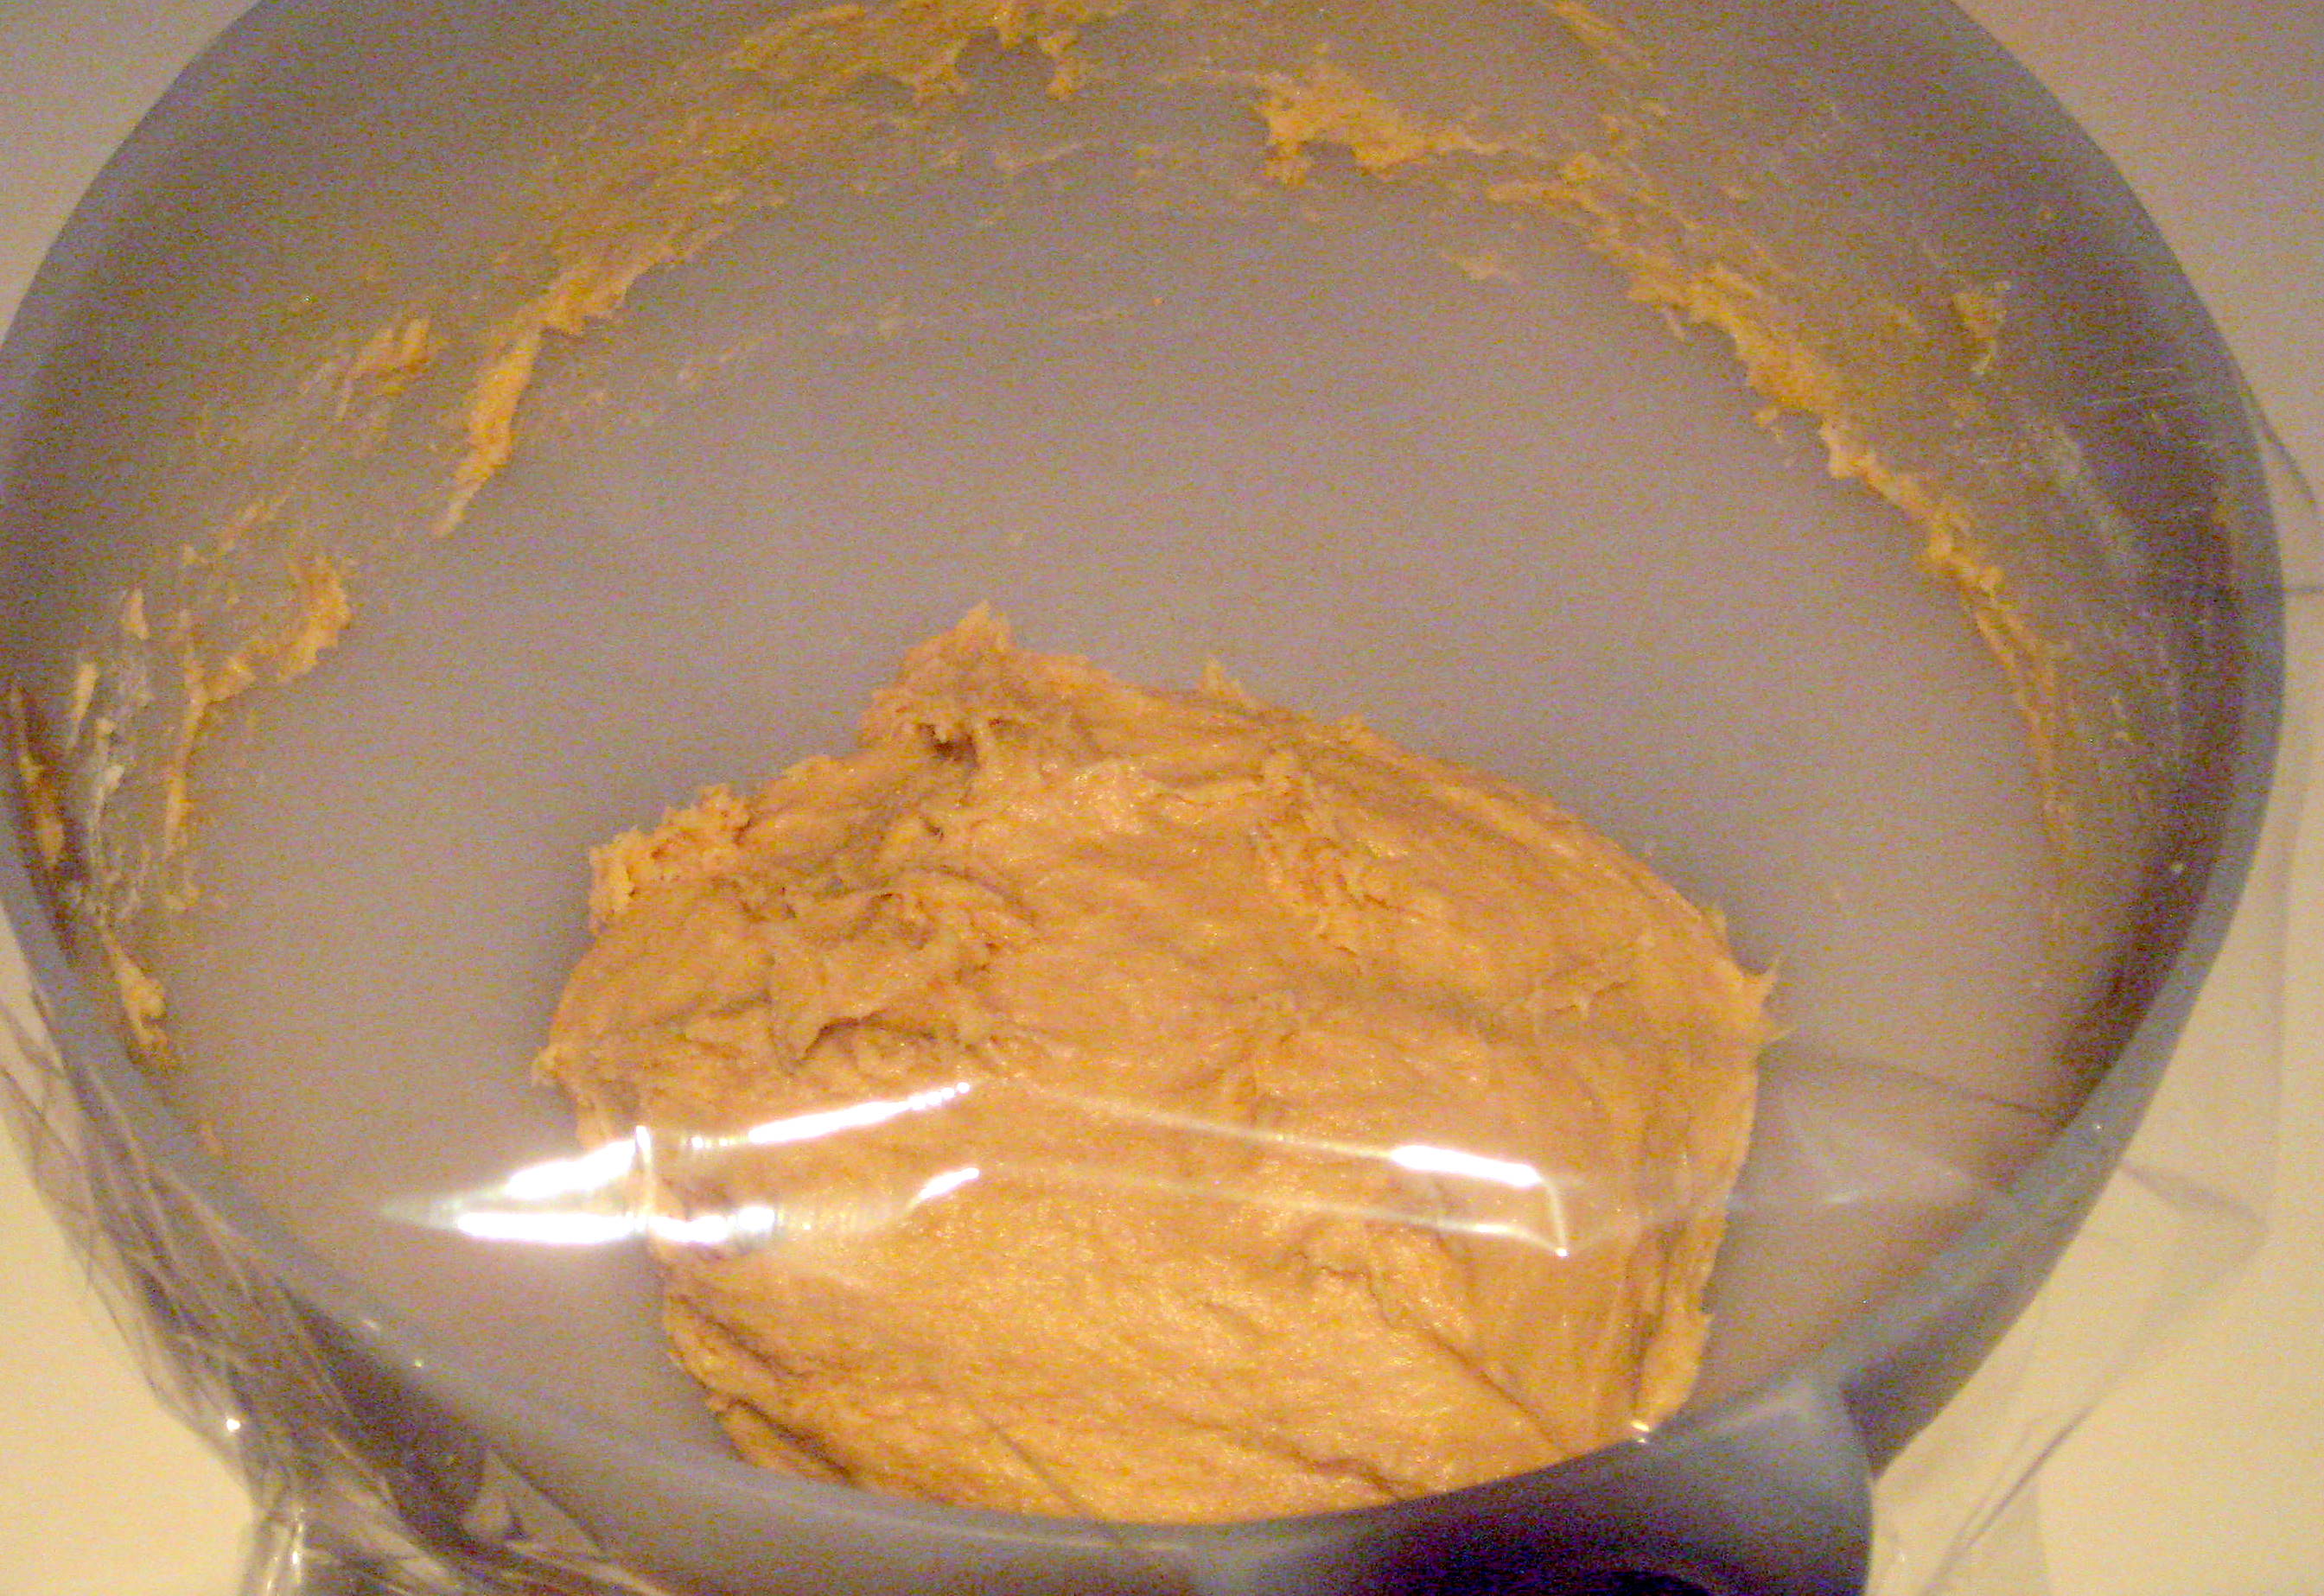
Sprinkle the dough with 2 more tablespoons of flour and kneed for 3 minutes – with a dough hook on your mixer if you have it, or by fist if you don’t. The dough will be sticky but should be smooth and soft by the end of the three minutes. Place the dough in a large bowl (I left it in the bowl I’d been using), cover it with plastic wrap, and let it rise in a warm place 45-60 minutes or until doubled in size.

I didn’t follow this tip but I wanted to share in case you want to make ahead. This is direct from my blog source: “Make Ahead Tip: If you want to make the dough the night before you bake it just gently deflate the dough after its first rise, place back in the bowl and cover it with plastic. Stick it in the fridge overnight (it will continue to rise, but at a much slower rate. Plus you get added flavor in the bread from the benefit of a slow, cold rise) The next day take the dough out and bring it to room temperature before proceeding with the next steps. I like to cover my dough with a damp piece of paper towel and stick it in my oven at the lowest temperature until it is room temp.”
Mix the sugar and all of the zest in a bowl and set aside. The sugar will draw out the citrus oils and you’ll end up with a citrus candy mixture that tastes like a sour patch kid minus the gummy kid.
 Preheat the oven to 350F and grease a 9×5 loaf pan.
Deflate the dough (punch it!) with your hand. Flour your work surface and roll the dough into a 20″ by 12″ rectangle. Might want to break out the measuring tape or ruler for this. Then brush the dough with the last 2oz of melted butter. Make it a nice, thick layer – don’t be shy now.
Using a knife or pizza cutter (pizza cutter worked really well!), slice the dough into 5 even strips. Each should be 4″ by 12″. Evenly divide the sugar between each of the sheets (about 1 1/2 tbsp per strip), spread it and press the sugar gently into the dough. Stack all 5 sheets of dough so you end up with a stack of five 12″ by 4″ rectangles, all buttered and topped with lemon sugar.

 Slice the new stack crosswise, through all 5 layers, into 6 rectangles (each will be 4″ by 2″). Carefully transfer the stacks of dough into the loaf pan, cut edges up, side by side. The pan will have a lot of excess space, but the bread will rise and expand after baking. Loosely cover the pan with plastic wrap and let the dough rise in a warm place until puffy and almost doubled in size, 30 to 50 minute (the pan will be relatively full at that point). You can see below how much the dough proofed once it was sitting in the bread pan.


Bake the bread for 20 minutes and check to see if the bread is browning too quickly. “Too quickly” is tough to tell – I had some pretty browned edges so I chose to cover the top loosely with foil (I removed the foil for the last 5 minutes). I ended up with a nice golden brown. I baked my loaf for 40 minutes and it was fully cooked. It’s very hard to tell if it’s cooked or not so I’m not really sure what advice I have for that one. When I pulled it out, it was nicely browned and smelled amazing. I just hoped it was ready.
 While the bread bakes, make the cream cheese frosting. Mix cream cheese and powdered sugar until combine. Add the milk and lemon juice and stir until creamy and smooth. You can also do what I did and just throw it all in a bowl and stir it till it is smooth but I was smooshing out lumps for a while so I don’t recommend it. Once you remove the bread from the oven, let it sit in the pan on a cooling rack for about 10 minutes. Gently remove the loaf from the pan and spread the frosting over the top of the loaf while it is still warm. This allows it to get in all the nooks and crannies like melting peanut butter on an english muffin. If you aren’t a cream cheese fan, 1) what is wrong with you? and 2) you could leave that out and make a glaze with powdered sugar and lemon juice and drizzle that over the top if you’d prefer.
To eat this delightful treat, just pull the bread apart, a layer at a time. I haven’t figured out a good way to reheat the bread without having the frosting melt off so you if you come up with anything, let me know. That also means I’m basically telling you to eat all of this immediately because it is best while warm. Plus it’s just that good.

marinated salmon, peanut noodles and sesame green beans
You can call this post “An Ode to Flop”. Flop (aka Julia) is a wonderful lady who is currently located around the world in a wonderful place known as China. But before that, she was my roommate. Flop and I often cooked together and amassed quite a collection of kitchen tools, spices and frequently-made recipes. Tonight, I made one of our favorite repeats. Start with some marinated, seared salmon and throw in some spicy peanut noodles and lastly, some stir-fried sesame green beans. It’s a great asian-y dinner and similar flavors of garlic, sesame and soy running through each dish and they compliment each other well.

For the fish:
salmon filets (from the thick part of the fish),
one filet per person
fresh ginger – about an inch long piece, peeled
a bunch of fresh dill
2 cloves of garlic
1 lemon
soy sauce
cayenne or hot sauce
Dijon mustard
olive oil
For the noodles:
spaghetti (1/3 of a box or so)
¼ c peanut butter
2 tbsp soy sauce
1 tbsp rice wine vinegar (optional)
1 tsp sesame oil
1 tbsp vegetable oil
cayenne
sesame seeds
green onions (optional)
For the green beans:
green beans
vegetable oil
sesame oil
chili flakes
2 garlic cloves
salt
This fish recipe is a very vague one, at best. The amounts are not specific and can be changed or omitted according to taste. The policy for us is that we’d load up the fish and cover them to marinate for about 30 minutes, then remove most of the marinate and cook it. Put all of the salmon in a baking dish with an edge (like Pyrex), skin side down. Sprinkle with cayenne to taste (go easy, a little goes a long way unless you like a lot of heat) and slather with some dijon mustard. Mince the garlic and ginger relatively finely and generously sprinkle on each filet. With the ginger, cut about an inch long piece and peel by slicing the skin off. It’s easy to do and the fresh flavor is really fantastic. Just don’t put it in a garlic press cause that does NOT work. Take the fresh dill (again FRESH please! It makes such a difference!) and chop it up and slather the filets in the dill. Sprinkle a few tablespoons of soy sauce over the fish and squeeze lemon juice over each as well. Again this is to taste so emphasize flavors you like, remove or reduce flavors you don’t. Drizzle with a little olive oil and let the fish sit for about 30 minutes to let the flavors all soak in. The fish should be almost hidden by all of the goodness covering it.
 While the fish is marinating, you can cook the pasta. I randomly discovered that Flop had left a random bag of Asian pasta in our cupboard so since I didn’t have much spaghetti, I used those noodles instead. Thankfully there were some very helpful step-by-step pictures on the back so I knew how to cook the noodles.
 While the pasta cooks, combine the peanut butter, soy sauce, rice wine vinegar (if you want), vegetable oil, and sesame oil. Whisk to combine and add a tiny bit of cayenne if you want some spice. Add the pasta and toss to combine. Add some sesame seeds and chopped scallions (if you don’t forget them at the store like I did!). The noodles can be served hot, cold or anywhere in between. If they get too thick or sticky, add some warm water a tbsp at a time and toss until it loosens. It’s best when it’s really fresh so I usually start eating it immediately and fill up before the rest of the meal is ready.
 The noodles are a great side dish but can also be made as a main course by adding a bunch of veggies (like red peppers and snow peas) and shrimp or chicken. When I made this for my Italian brother-in-law, he was very concerned about the words spaghetti and peanut butter in the same sentence but even he enjoyed the dish (or humored me kindly).
Preheat the oven to 350F and get back to the salmon. Scrape off most of the marinade. In an oven safe pan with a bit of olive oil, sear the fish (skin side up) over high heat for about 2 minutes. Flip the fish over and slide the pan into the oven. Depending on the thickness of the fish, it should take 10-15 minutes to finish cooking.


While the salmon finishes in the oven, blanch the green beans in boiling salted water for 2-3 minutes and then toss them in a very hot pan that has about a tablespoon of vegetable oil and a tsp of sesame oil. Optionally, you can add some chili flakes and/or a few smashed garlic cloves to the oil as it heats up. I like both! Stir fry for another 2 minutes (I take them from the boiling water directly into the hot oil. It will spatter a bit but no reason to dirty another dish). I usually salt the beans pretty heavily because I like them salty in this dish but season to your liking and sprinkle with some sesame seeds. You can also make this dish with snow peas/pea pods or I’m sure a variety of other veggies. It’s tasty and quick and the sesame oil adds great flavor.
 Once the salmon is finished cooking, plate everything up. Feel free to add another squeeze of lemon juice to the salmon and you’ve got a fresh, colorful plate of yummy food. Take your plate, raise your glass and toast to Flop. POOB!

spring green risotto
With yet another landslide victory in the polls, the winner of What’s Next? (#3) had the mass appeal of creamy, comforting goodness of risotto with the healthy veggies and a touch of no meat that helped it beat out the other competitors in the mix. And being the ever fantastic friend she always is, Courtney was kind enough to join me as I cooked and even stayed to share in the delightful meal that followed. (sidenote to all future guests: she brought salads from Cafe Green AND a bottle of wine so take note – the bar has been set!)
I’ve only made risotto once before and while I know that it is supposed to be an “easy” dish (albeit somewhat labor intensive), it still makes me nervous as it was very lacking the first time I made it. Kind of a gloopy, sticky mess, if you will. After reading a few of the reviews of how delicious and easy this dish was, I took note that several reviewers suggested prepping EVERYTHING beforehand so that it is all ready to be dumped in the pot as needed. I followed that advice and will offer this recipe with that adjustment. While Ina has you slicing and blanching asparagus, mixing cheese and lemon and other tasks while the rice cooks, I will advice you to do it all ahead of time. It leads to a few more dishes but prevents you from running around trying to get stuff done while the rice overcooks or doesn’t get the stirring attention that it needs. I personally suffer from having only 2 hands and when risotto needs to be stirred “almost constantly”, this is why I make that suggestion.
 Serves 4 for dinner, 6 for appetizer or 2 for dinner with 3 lunch leftovers
1 1/2 tablespoons good olive oil
1 1/2 tablespoons unsalted butter
3 cups chopped leeks, white and light green parts (2 leeks)
1 cup chopped fennel
1 1/2 cups Arborio rice
2/3 cup dry white wine
4 to 6 cups simmering chicken stock
1 pound thin asparagus
10 ounces frozen peas, defrosted
1 tablespoon freshly grated lemon zest (about 2 lemons)
Kosher salt and freshly ground black pepper
2 tablespoons freshly squeezed lemon juice (1/2 a juicy lemon)
1/3 cup mascarpone cheese
1/2 cup freshly grated Parmesan, plus extra for serving
3 tablespoons minced fresh chives, plus extra for serving
Start by chopping all the veggies and put a pot of salted water on the stove to boil. As far as the leeks – I usually just slice the stalk like celery, carrots or green onions. I don’t “chop” per se. One important thing to remember is that leeks are really, really dirty and you should rinse them with cold water a few times to get rid of all of the sediment. Fennel is a new one for me and I’ve never chopped it before. You might ask why I didn’t Google it to see the recommended way to chop said veggie but my laptop was upstairs and I was feeling especially lazy after the soccer tournament so I just figured it out. You can follow this great link to get instructions if you need them. Next is asparagus since your salted water should now be ready to blanch. Cut them in 1 1/2 inch diagonal pieces and discard the tough ends. Diagonal because it looks prettier but it’s not that serious if you want to just chop them straight across. Blanch the asparagus in the boiling salted water for about 4 minutes and then drain and cool in ice water. This “shocks” the asparagus and stops the cooking so they don’t get too soft.
 Next, zest the lemons until you have 1 tablespoon of zest and set aside. If your lemons are extra juicy (as mine were), a half a lemon should give you the required 2 tbsp. Add the lemon juice to the 1/3c of mascarpone, mix and set aside. Courtney is available for hire for this step and does a damn good job.
Now that everything is ready (and your stock is of course simmering away on the stove with your ladle ready to go), you can add the butter and olive oil to a medium or large saucepan over medium heat. Add the leeks and fennel and saute for 5-7 minutes until tender. Then add the rice and stir for a minute until all of the grains of rice are coated in the oil, butter, veggie combo. Add the white wine (taking care not to spill it down your leg, as I did) and simmer over low heat until it is almost all absorbed. Add the chicken stock, 2 ladles at a time, stirring almost constantly (see??!) and waiting until the liquid is absorbed before adding another 2 ladles. Ina says this process should take 25-30 minutes. It took more like 45 minutes for me but I may have had the stove on a little bit low. I decided I’d rather go low and slow than turn up the heat and risk messing it up. Any avid readers of the blog may have noticed that my oven consistently takes longer than it should to cook things because it’s crappy. Such is life and hopefully I’ll somehow survive. Assuming it takes the normal Ina amount of time, after about 15 minutes of cooking the rice, add the drained asparagus, peas, lemon zest, 2 tsp o f kosher salt and 1 tsp of pepper.


 My thoughts on kosher salt. I love it. I’ve often seen complaints on Ina’s recipes that they are too salty. My opinion is that these people are probably not using kosher salt. Normal table salt is saltier than kosher…bite the bullet and get a container of it and use it for seasoning. It’s by far the most used seasoning in my kitchen. I love salt.
Ok back to the risotto that we are stillllll stirring. Continue to add stock and stir until the rice is tender but still firm. I was tasting mine every few minutes to see if it was tender enough. Remember that you do not have to use ALL of the stock. If you use 3 cups and that’s enough to get your risotto cooked to a level that you enjoy, then you are done. I used more like 6 cups in my slow cooking process but it came out still firm and tasting great. The risotto should not be thick or sticky and according to Tom Colicchio on Top Chef, it should not hold its shape when you put it on a plate. When the risotto is done cooking, remove it from the heat and add the mascarpone/lemon mixture, the Parmesan and the chives and stir in the creamy goodness.
 Set aside, off the heat, for a few minutes, sprinkle with salt and pepper, and serve hot with a sprinkling of chives and more Parmesan cheese. Folks I’m not gonna lie to you. This is some good, good food. We ate until we fell deep into a risottocoma and enjoyed every minute of it. It’s a big bowl of comforting, creamy, cheesy delicious. So thanks to you all for your spectacular choice!

« Previous Entries
